Why Paint your Farmhouse Kitchen Chairs?

Painting your farmhouse kitchen chairs is a great way to add a unique and personal touch to your kitchen. A fresh coat of paint can instantly transform the look of a room, and it is an easy and inexpensive way to update any furniture piece.
Painting your chairs in a range of colors like blues, greens, grays or whites can help you create an eclectic atmosphere that reflects the vintage style of a farmhouse kitchen.
To ensure that your paint job looks professional and lasts, use quality paint products that are specifically designed for furniture pieces. You should also take the time to properly prep each chair before painting; sanding down any rough spots and priming the surface will give you better results.
Finally, be sure to double-check that the paint color you choose compliments all the other elements in your kitchen for a cohesive design.
Preparing the Chairs

Preparing the chairs for painting is an important step to ensure a professional and long-lasting paint job. Before you begin, make sure you have all the necessary materials such as sandpaper, primer, and paint brushes.
Begin by lightly sanding down any rough spots on the chair; this will create a smooth surface for the paint to adhere to. Once all surfaces of the chair are sanded down, remove any dust with a damp cloth and let it dry before applying primer.
Primer helps protect the furniture from moisture while also providing better coverage for your paint job. Make sure that you cover all surfaces evenly with the primer and let it dry completely before beginning to paint. With just a little extra effort in preparation, your farmhouse kitchen chairs will be looking great in no time!
Gather Necessary Supplies
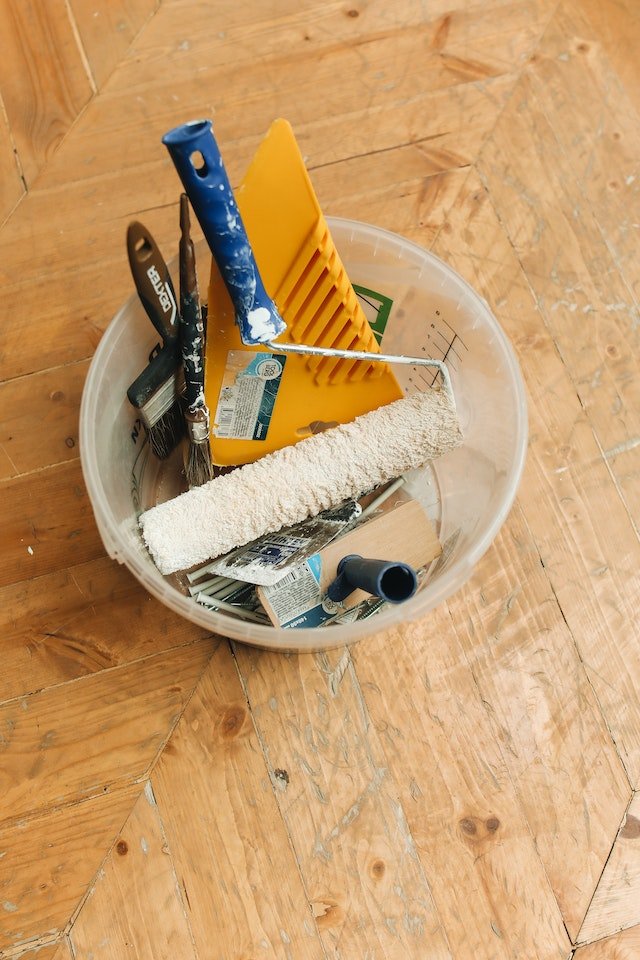
Gathering the necessary supplies is an important part of painting farmhouse kitchen chairs. Depending on the type of look you want to achieve, you will need at least a few basic materials such as sandpaper, primer, and paint brushes.
It’s also a good idea to have some drop cloths or other protective coverings available to prevent any messes from staining your furniture or flooring. If you are going for a distressed look, you may want to purchase some sandpaper with different grits so that you can achieve a rustic finish.
Additionally, if your chairs have intricate woodwork details, it might be helpful to invest in some small painter’s tape or stencils to help keep paint within the lines. Taking the time to gather all of your supplies beforehand will ensure that your project runs smoothly!
Remove Old Finish and Prepare Surface
Before you can begin painting your farmhouse kitchen chairs, you must first remove the old finish and prepare the surface. This can be done with a combination of sandpaper and chemical strippers.
Start by using a medium-grit sandpaper to lightly scuff up the wood for better paint adhesion. Then, if needed, apply a chemical stripper to any areas that have thick layers of paint or varnish.
Once all of the old finish has been removed, use a fine-grit sandpaper to smooth out the surface and remove any rough patches. Finally, wipe down the chair with a damp cloth to remove dust particles and dirt before you start painting!
Sanding and Cleaning

Sanding and cleaning are important steps before painting a farmhouse kitchen chair. Before you begin, use a medium-grit sandpaper to lightly scuff up the surface for better paint adhesion.
Then, if needed, apply a chemical stripper to any areas with thick layers of paint or varnish. Once all of the old finish has been removed, use a fine-grit sandpaper to smooth out the surface and remove any rough patches.
Clean the chair with a damp cloth to make sure all dust particles and dirt have been removed before you start painting. Sanding and cleaning are essential steps in order for your paint job to turn out looking great!
Repair any Damage
Before you begin painting, it’s important to repair any damage on the farmhouse chair. Inspect the chair thoroughly to find any cracks, chips, or holes that need to be filled in.
For small cracks and chips, use a wood filler or putty knife to fill them in. Once the filler has dried, sand away any excess with a fine-grit sandpaper. For larger holes and cracks, use a wooden dowel rod or toothpick to plug them up with wood glue.
Make sure you apply enough glue for the solution to dry completely before proceeding with painting. Repairing any damage is an essential step in making sure your farmhouse kitchen chair looks its best after you’ve finished painting it!
Primer Application & Drying Time
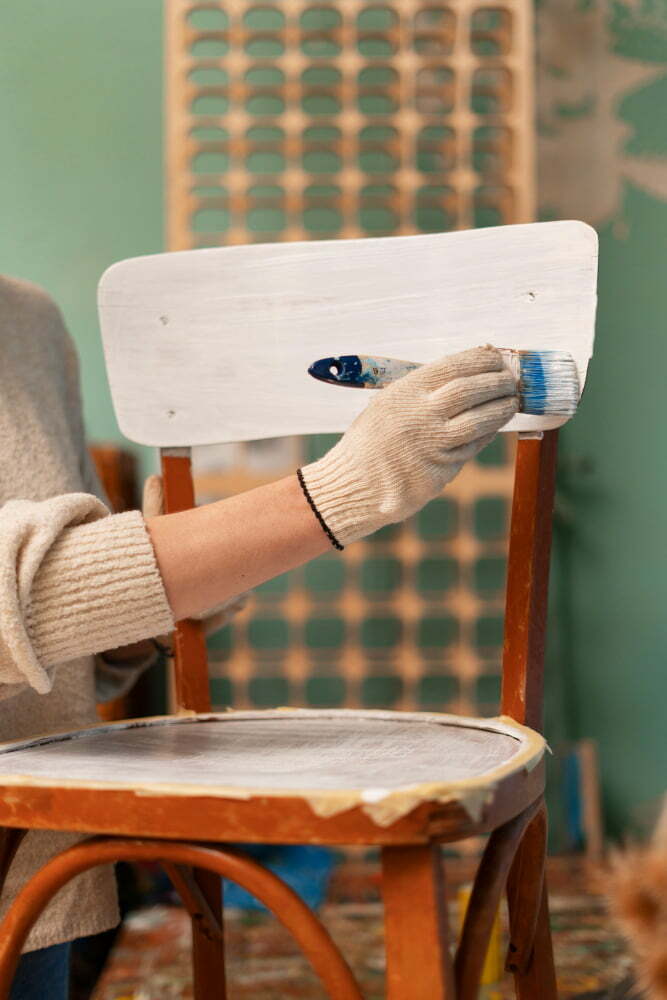
Before applying the paint to your farmhouse kitchen chairs, it is important to use a primer. Primer helps protect the wood and creates a better surface for the paint to adhere to.
When applying the primer, use a foam brush or roller and make sure you cover every surface of the chair evenly. Allow the primer to dry completely before continuing with painting.
Depending on how much primer you’ve used, drying time can take anywhere from one to two hours. To ensure that the paint adheres properly, wait until all of the primer has dried completely before proceeding with painting.
Choosing the Right Paint Color

When choosing a paint color for your farmhouse kitchen chairs, you want to select a hue that will complement the existing décor and add personality to the room. Start by considering the overall color palette of your kitchen. Neutral tones such as white, beige, gray, or even black can make an excellent base for any farmhouse kitchen chair.
If you’re looking to make more of a statement with your paint color, consider shades like deep blues or greens. You can also add subtle interest with accent colors such as yellow or pink.
It is important to remember that darker colors may require more coats of paint and may need additional dry time between each coat.
Additionally, consider how much natural light is present in your kitchen when selecting a paint color – brighter hues may look washed out in rooms with limited natural light. Finally, be sure to test out your chosen paint color on samples before painting all of your chairs!